
- Serves 4
- Fish and Seafood
- Onigiri with Salmon
- Serves 4 ›
- Baby Finger Foods › Onigiri with Salmon
Onigiri with Salmon
This page may contain affiliate links, which means we receive a small commission for purchases made using the links. There is no additional cost to you. Please read our full disclosure policy.
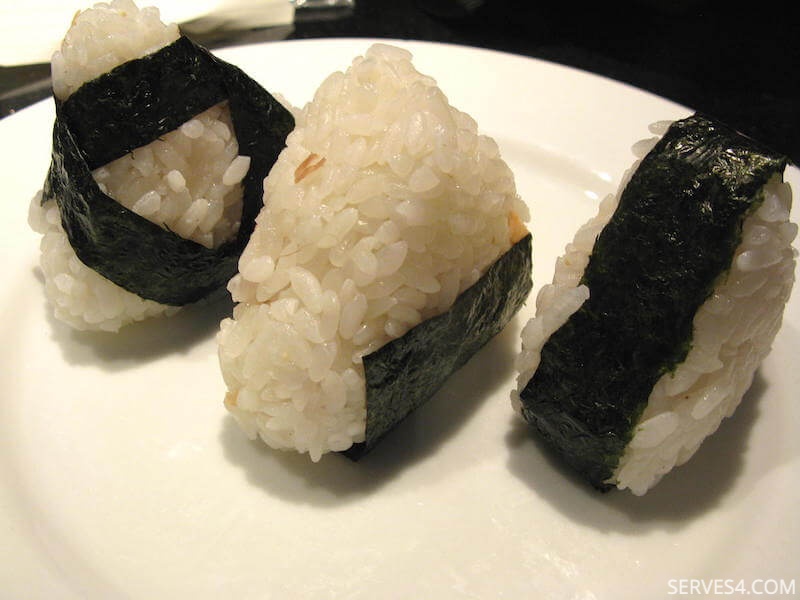
Onigiri with salmon is a popular food in our family. They are easy to make, taste great, and are perfect for snacking on or as a light bite. Oh, and did I mention that they are also super cute?

I first discovered onigiri years ago at our local Japanese grocers, and when I introduced it to my children, they immediately fell in love. They used to call them 'sushi sandwiches'! You can sort of see the logic, right, with the filling sandwiched between rice, and the nori wrapper making it similar to sushi...

When my children were young and I was packing their lunches all the time, I would often make them onigiri with salmon. It's a great little lunchbox food and also ideal for using up leftover salmon, which we always seemed to have in the fridge.
I used to make my onigiri freehand, but it's not that easy to make nice looking triangular shapes with rice! I got better with practice, and although they still didn't look perfect, they were still pretty cute.

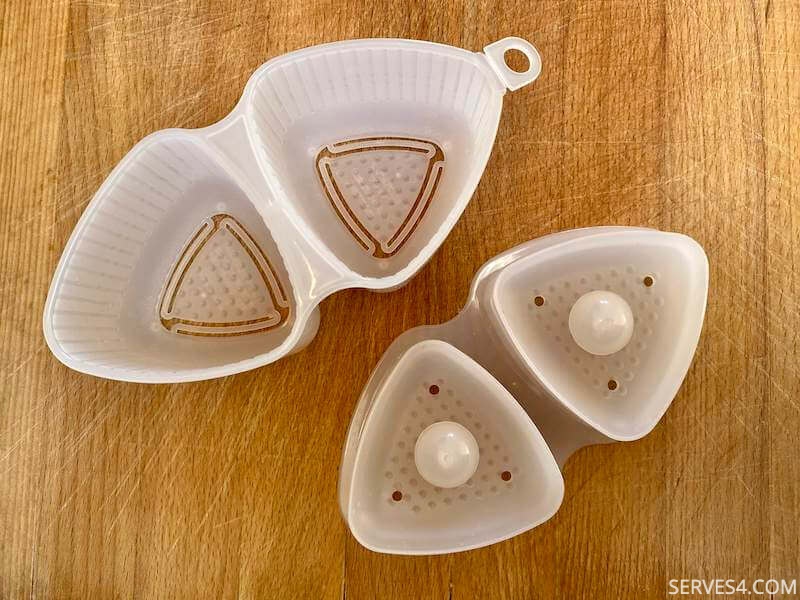
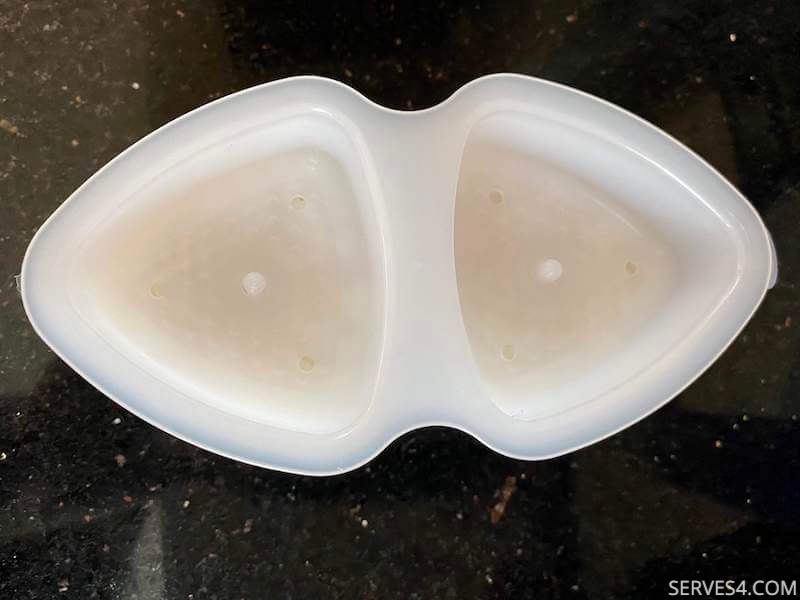
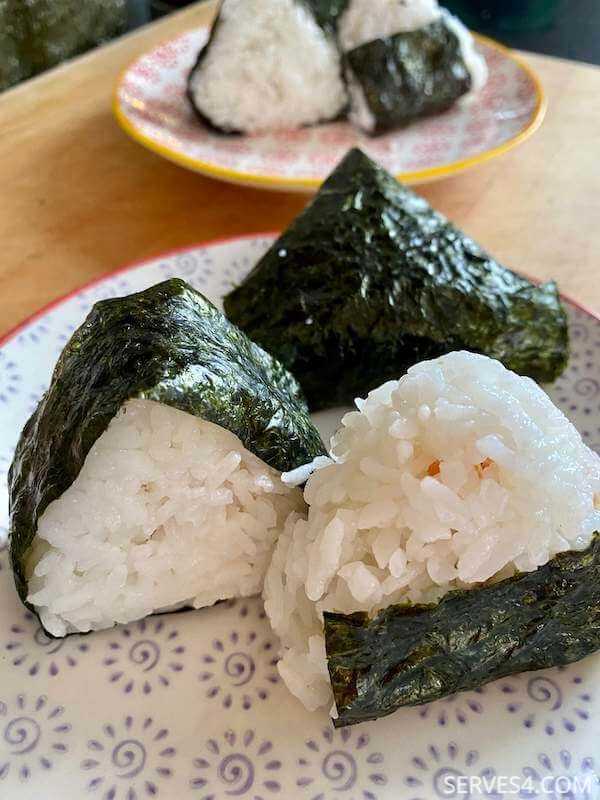
But then I discovered the onigiri mould! It was a total game changer that turned out perfectly formed triangular onigiri every time. I haven't looked back since, and now, if I'm ever caught making onigiri freehand, I tend to roll them into balls - less cute but equally tasty.
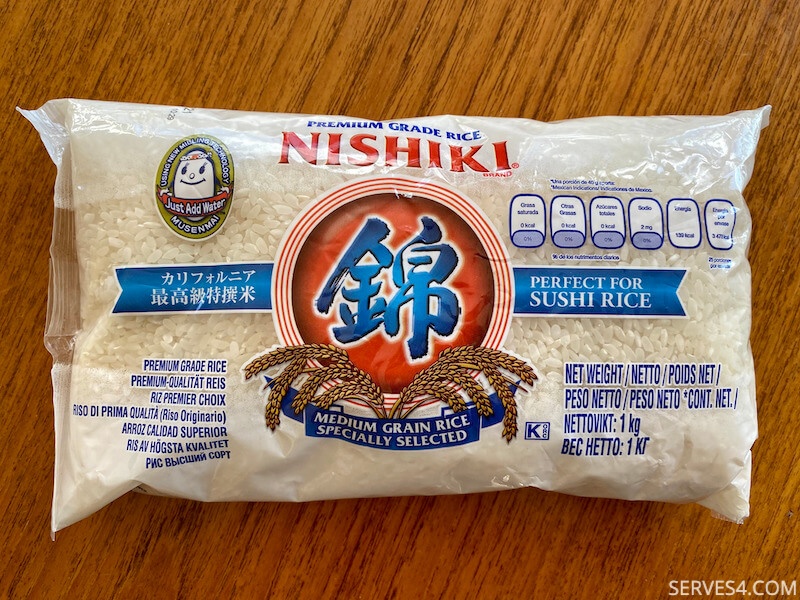
When making onigiri, it's best to use short grain or sushi rice, as the grains become a bit sticky when cooked and hold together better. Long grain rice tends to remain loose, even after cooking, so they won't hold together as well for onigiri.
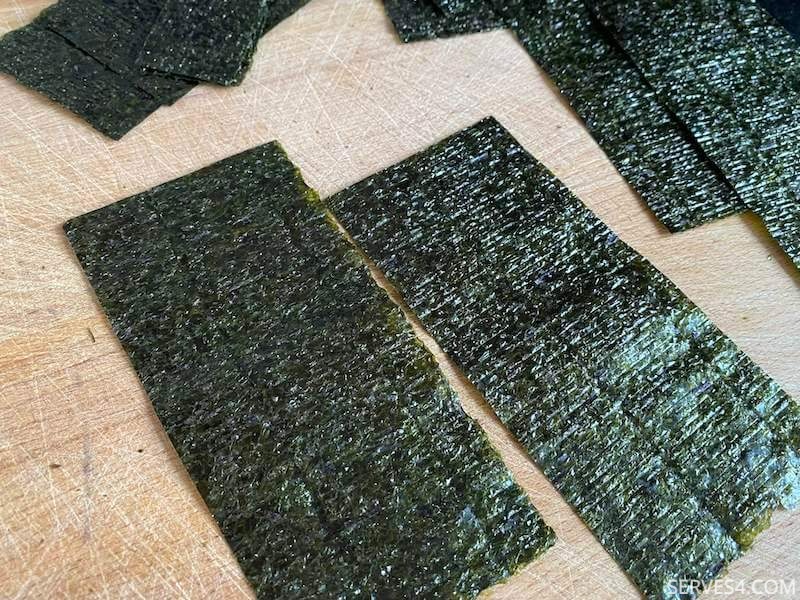
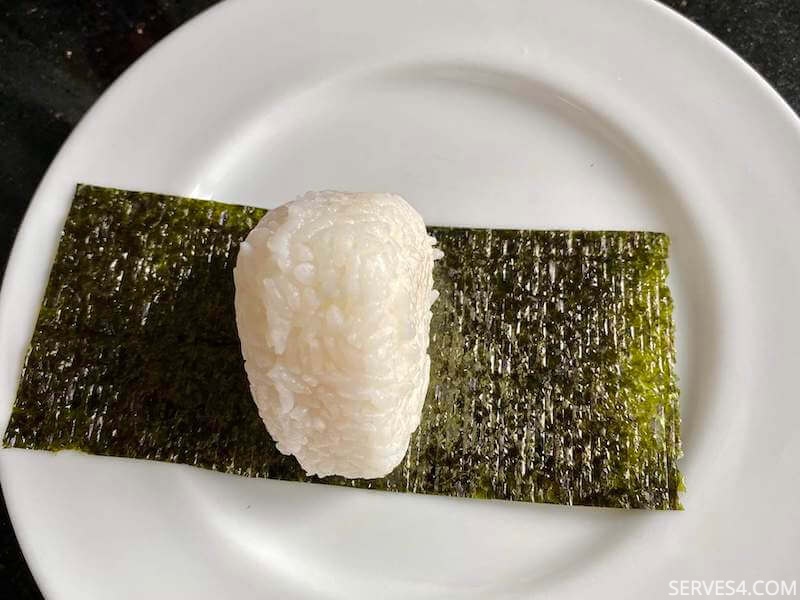
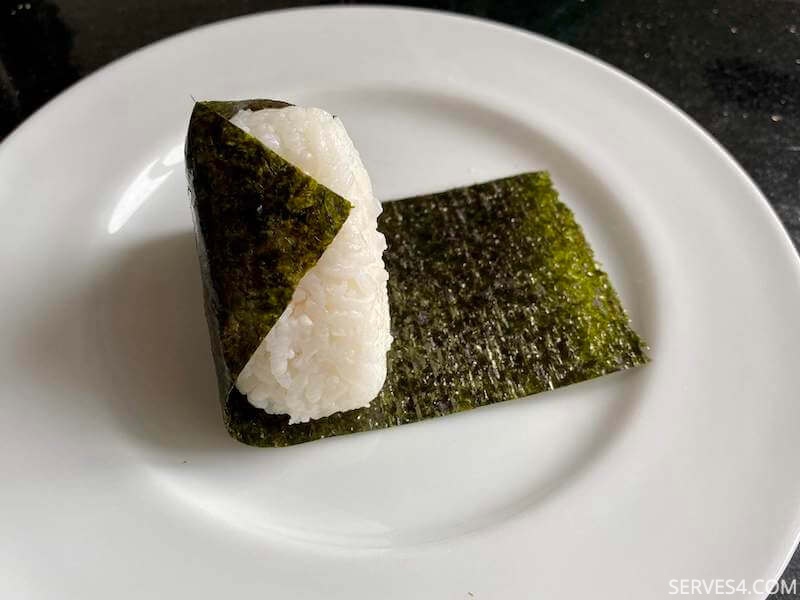
Onigiri is usually finished with nori wrapping around the rice. It is impossible to keep the nori from going soft, especially if you're making it in the morning for packed lunch later in the day, unless you happen to have some of the nifty tearaway onigiri wrappers that the shops use (we don't)... But that doesn't bother us, and whilst the texture may be different, none of the taste is sacrificed.

Onigiri with salmon also makes great finger food for babies and toddlers. They can deconstruct it to their hearts' content and practice their feeding and motor skills, whilst also getting their protein, carbohydrates and vegetables in for a balanced meal. You can also use other fillings, such as crab, tuna or avocado, to name a few.
Here's what you'll need to make onigiri with salmon:
(Click here to jump straight to the recipe)
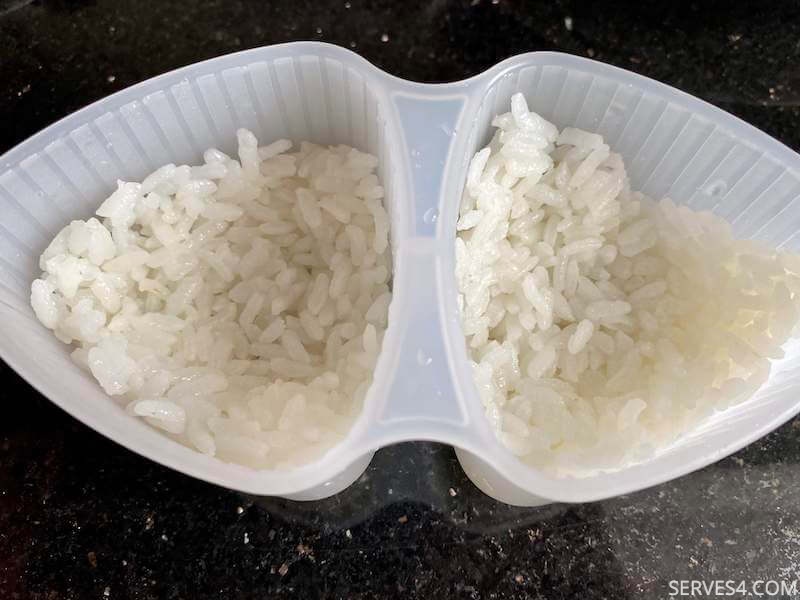
105g short grain or sushi rice
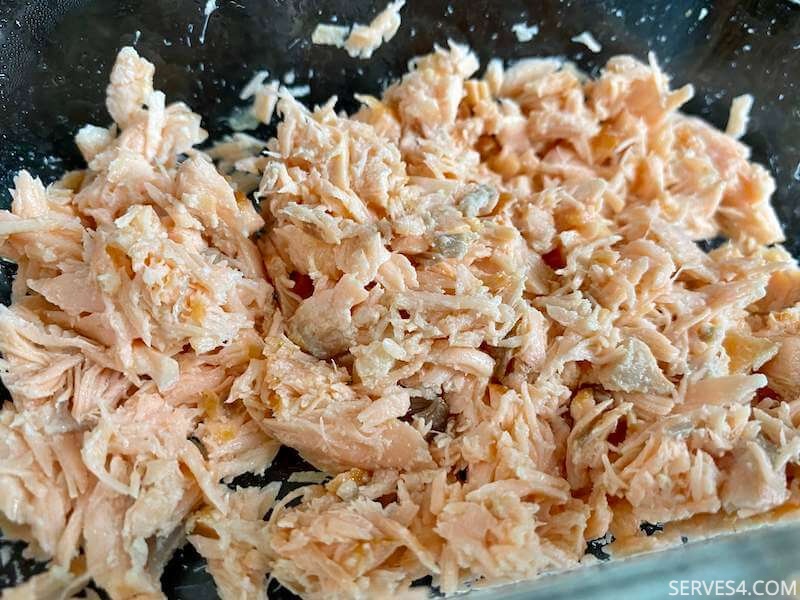
60g cooked salmon
Pinch of sea salt (optional)
2 sheets of sushi nori
1 onigiri mould (optional)
And here's what you'll need to do:
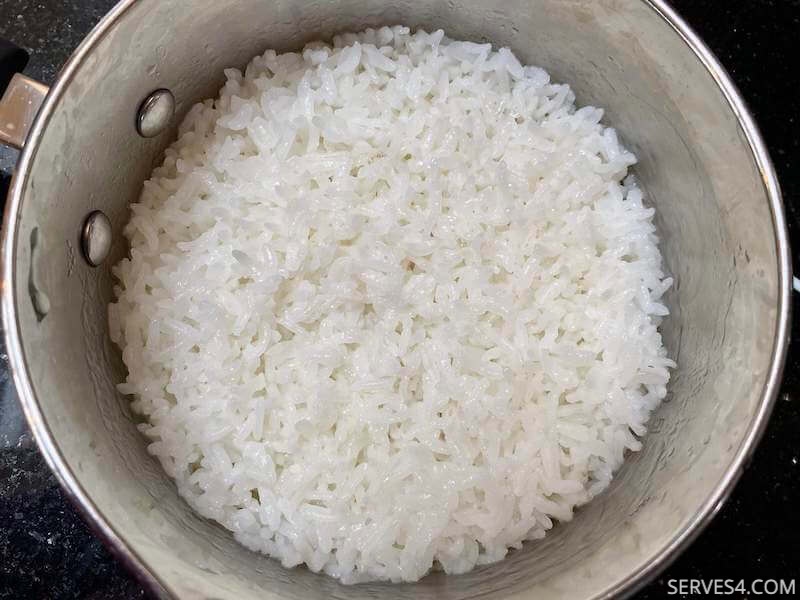
- Rinse the rice, and cook it according to packet instructions. Allow it to cool completely.
- Cut your nori sheets to size, depending on how you want to wrap your onigiri.

- Mash the salmon using chopsticks or the back of a fork, and mix in a pinch of sea salt, if you're not making this for very young children.
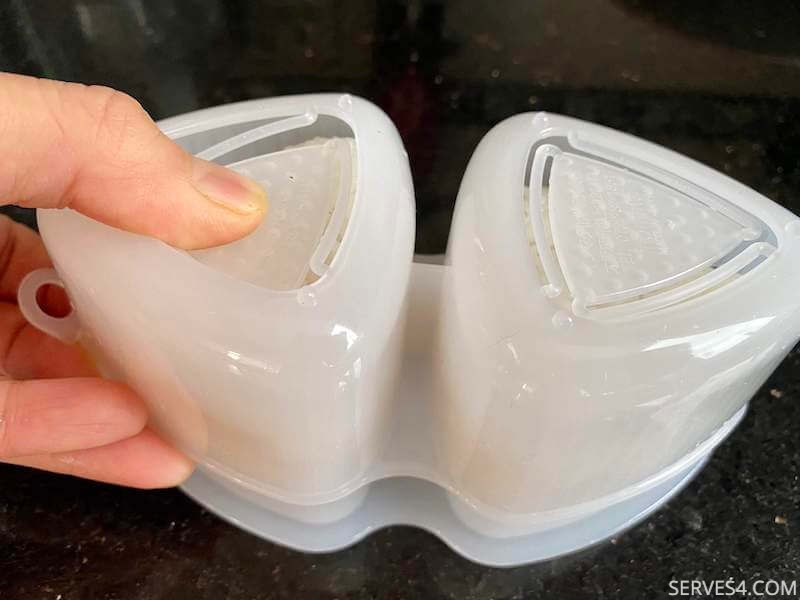
- When the rice is completely cooled, scoop some into each of the deep compartments of the onigiri mould, and pat it down so that the base is lined with a thin layer of rice, and it comes up slightly on the sides, forming a small hollow indentation in the centre. I find this easiest to do using fingers, and wet them to stop the rice sticking to them.
- If you don't have a mould, make your onigiri one at a time. Pat some rice into the palm of one hand, and make a slight indentation in the middle.
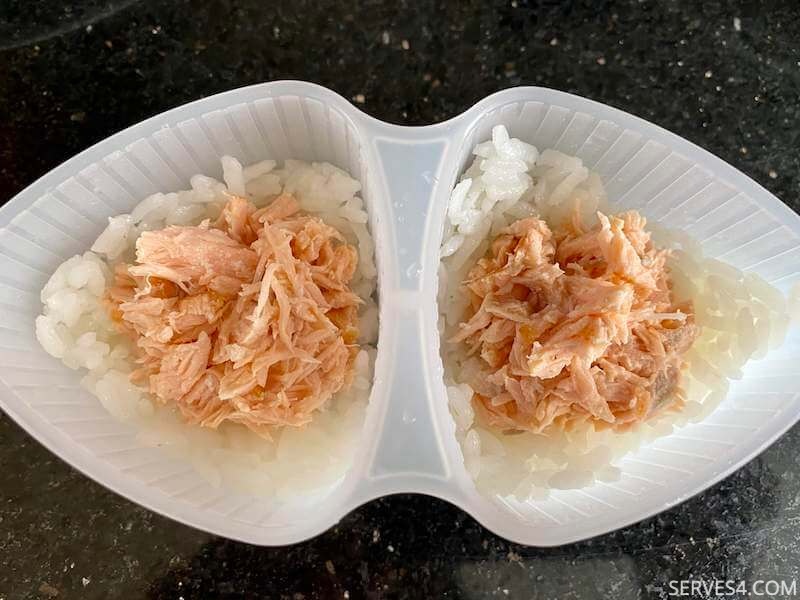
- Fill each indentation with roughly a quarter of the salmon, leaving a small margin around the edges.
- Cover the salmon with a bit more rice, pushing it down the sides, if using a mould.

- Put the lid on the mould, and press it down all the way to compress the salmon and rice. Again, you can wet the lid slightly to prevent rice from sticking to it.
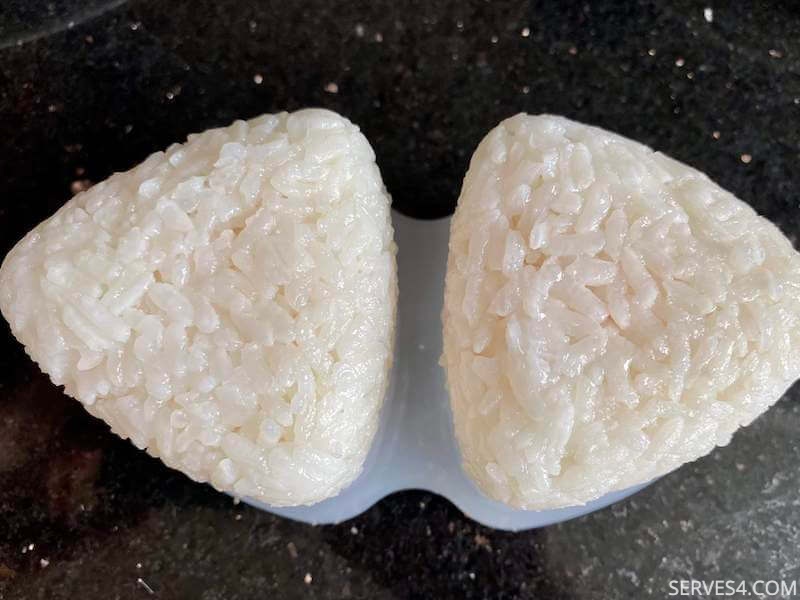
- Flip the mould over, and use your thumbs to press down the centres, whilst lifting the edges to uncover the onigiri.
- If you're making onigiri by hand, gently squeeze the rice to compress it, as you shape it into a triangle. Or you could shape it into a ball. Don't squeeze too hard, or the filling may fall out.
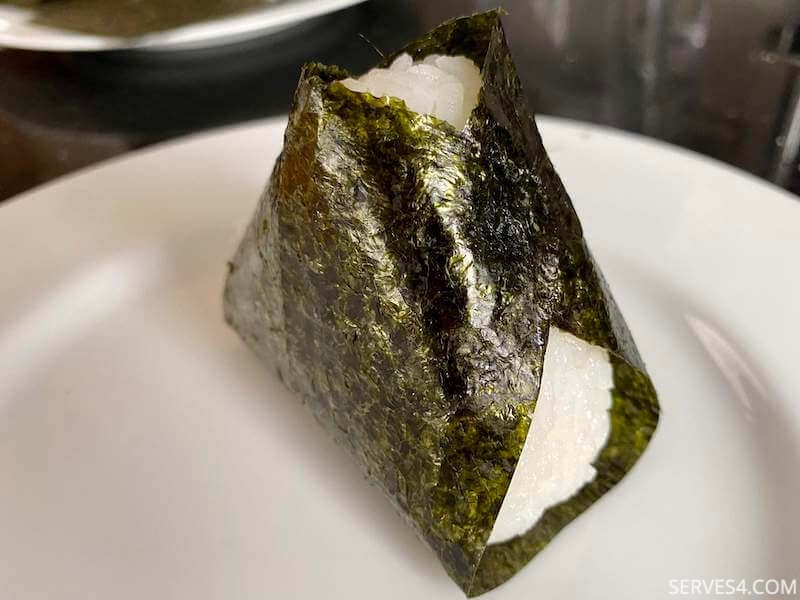
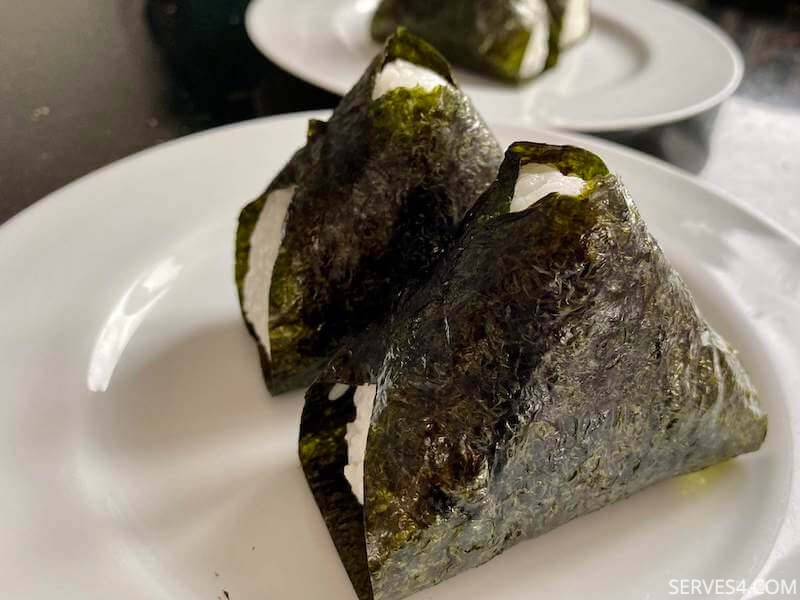
- You can choose to wrap the onigiri with salmon in nori before serving. I tend to wrap them like parcels, leaving the corners exposed. You could also wrap just the edges or the base, or however else you'd like!
Onigiri with Salmon
By Wendy | Serves 4
These cute little onigiri with salmon are perfect for snack or a light lunch, and kids really love to eat them.
Prep Time: 15 minutes
Cook time: 10 minutes
Yield: 4
Course: Snack, Main
Cuisine: Japanese
Tags: Sushi, Snack
Ingredients
105g short grain or sushi rice60g cooked salmon
Pinch of sea salt (optional)
2 sheets of sushi nori
1 onigiri mould (optional)
Method
- Rinse the rice, and cook it according to packet instructions. Allow it to cool completely.
- Cut your nori sheets to size, depending on how you want to wrap your onigiri.
- Mash the salmon using chopsticks or the back of a fork, and mix in a pinch of sea salt, if you're not making this for very young children.
- When the rice is completely cooled, scoop some into each of the deep compartments of the onigiri mould, and pat it down so that the base is lined with a thin layer of rice, and it comes up slightly on the sides, forming a small hollow indentation in the centre. I find this easiest to do using fingers, and wet them to stop the rice sticking to them.
- If you don't have a mould, make your onigiri one at a time. Pat some rice into the palm of one hand, and make a slight indentation in the middle.
- Fill each indentation with roughly a quarter of the salmon, leaving a small margin around the edges.
- Cover the salmon with a bit more rice, pushing it down the sides, if using a mould.
- Put the lid on the mould, and press it down all the way to compress the salmon and rice. Again, you can wet the lid slightly to prevent rice from sticking to it.
- Flip the mould over, and use your thumbs to press down the centres, whilst lifting the edges to uncover the onigiri.
- If you're making onigiri by hand, gently squeeze the rice to compress it, as you shape it into a triangle. Or you could shape it into a ball. Don't squeeze too hard, or the filling may fall out.
- You can choose to wrap the onigiri with salmon in nori before serving. I tend to wrap them like parcels, leaving the corners exposed. You could also wrap just the edges or the base, or however else you'd like!
Other Pages You May Like
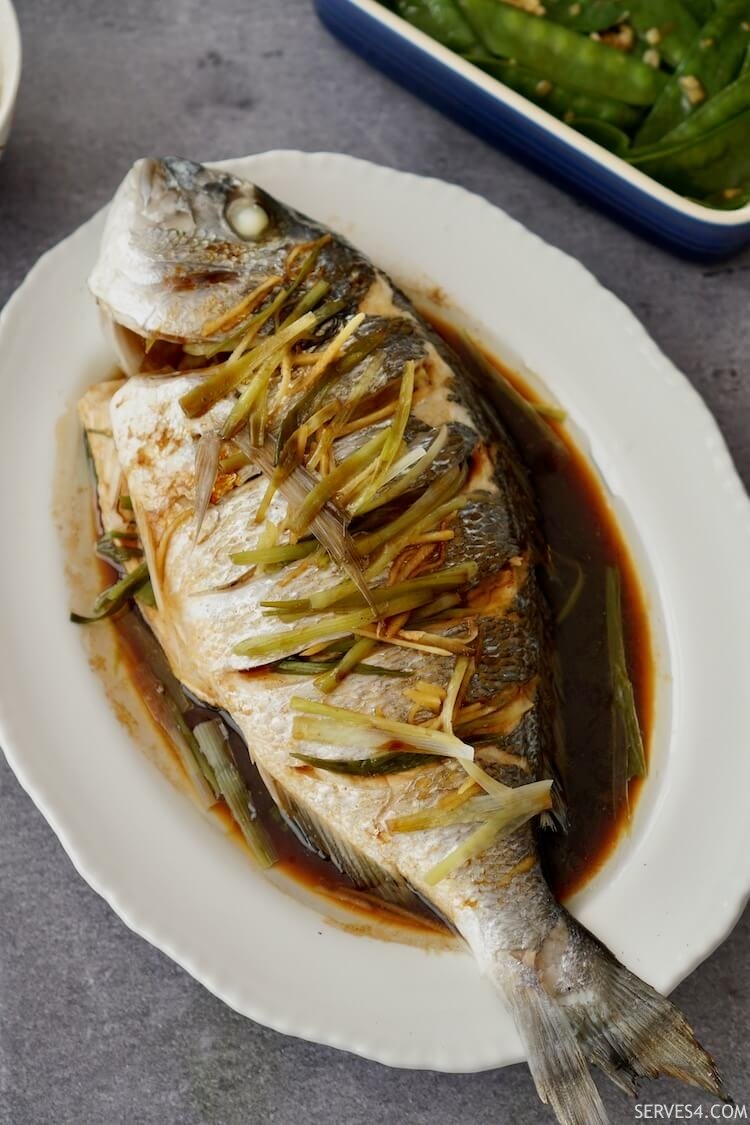
Chinese Steamed Fish Recipe
This simple Chinese steamed fish recipe incorporates basic ingredients into a delicious meal, making it a popular way to enjoy fish.
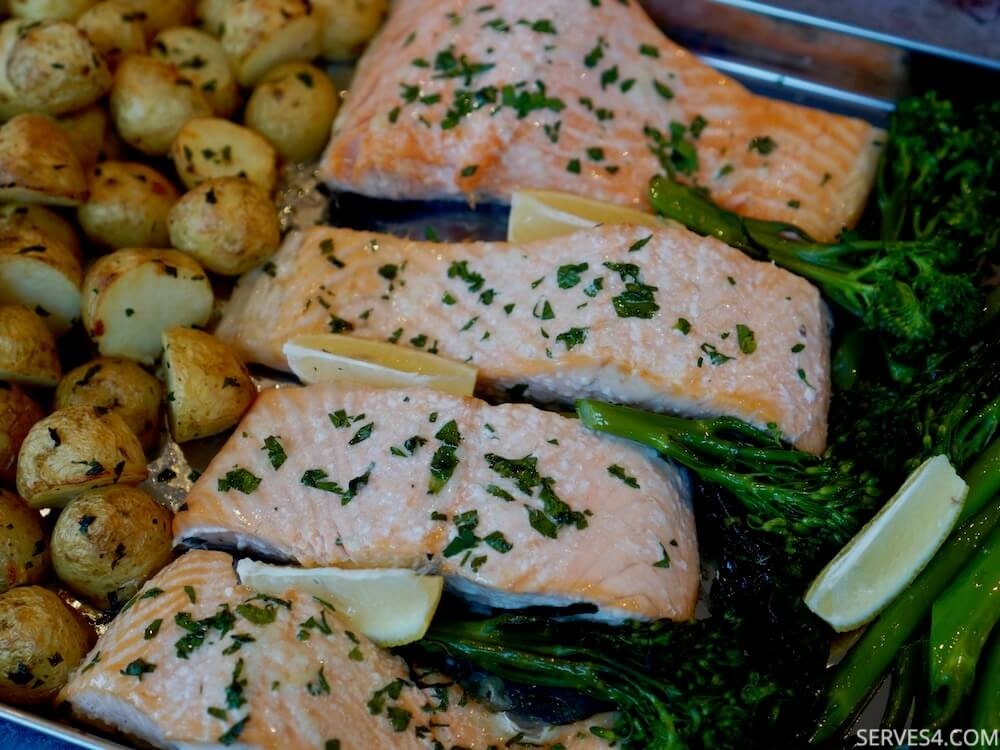
Garlic Baked Salmon Recipe (in a Sheet Pan)
This sheet pan garlic baked salmon recipe is one of those one tray wonders that will keep you coming back time after time.
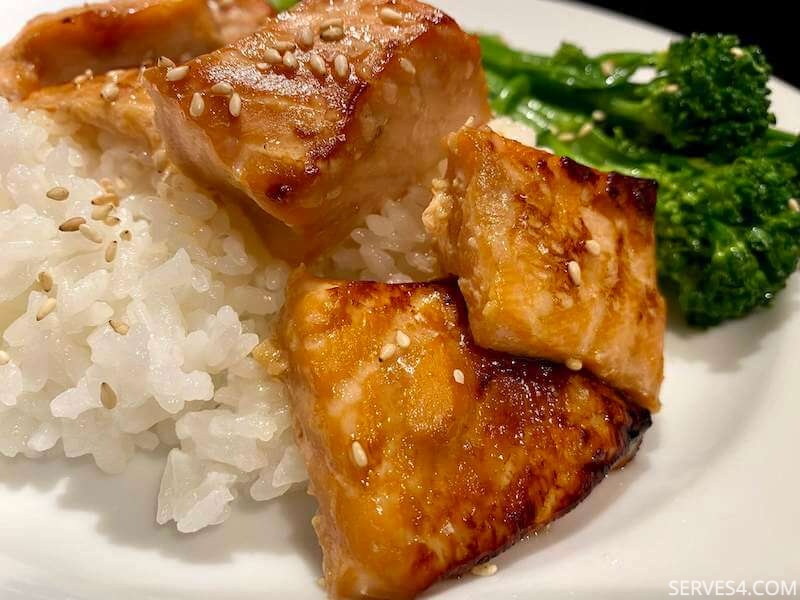
Sesame Soy Salmon
Sesame soy salmon is a little bit sweet, a little bit savoury, and so easy to make that it is sure to become a midweek staple.

What's on your mind?
Let us know any thoughts, comments or questions by getting in touch here.
Back to the Top!
Receive our FREE email series and newsletter
Top 5 Weeknight Recipes

What's New?
-
Korean Chicken
 Happy Monday! We're thrilled that it's officially barbecue season. The sun is shining and the temperatures are rising - it doesn't take much for an excuse to get together with friends and grill in th…
 -
Seasoned Korean Spinach
 It's finally warming up here, and we're all about cool, refreshing drinks and light bites and that won't weigh you down or cause you to melt in the heat! This seasoned Korean spinach recipe is a deli…
 -
Victoria Sponge Cake
 Who's looking forward to another long weekend? 🙋🏻♀️ I can hardly keep up with the number of Bank Holidays this May! Here's a treat you might like for the weekend, if anyone is planning a red, white…
 -
Black Sesame Buns
 Happy Monday everyone! These black sesame buns are sure the brighten your week. A cross between beautiful Swedish cardamom buns and my favourite black sesame paste, these buns are simply irresistible…
SUBSCRIBE NOW to receive our FREE email series and newsletter
Top 5 Weeknight Recipes for the Family!
COPYRIGHT © 2013-2023 SERVES 4. ALL RIGHTS RESERVED.
POWERED BY: Solo Build It!