- Serves 4
- Baking and Desserts
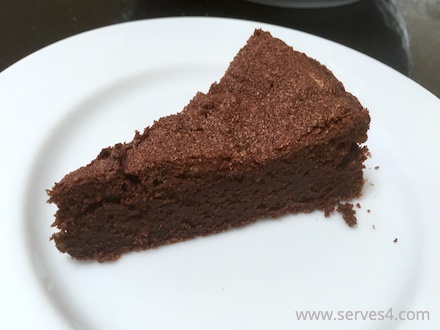
- 6 Inch Chocolate Cake
6 Inch Chocolate Cake
This page may contain affiliate links, which means we receive a small commission for purchases made using the links. There is no additional cost to you. Please read our full disclosure policy.
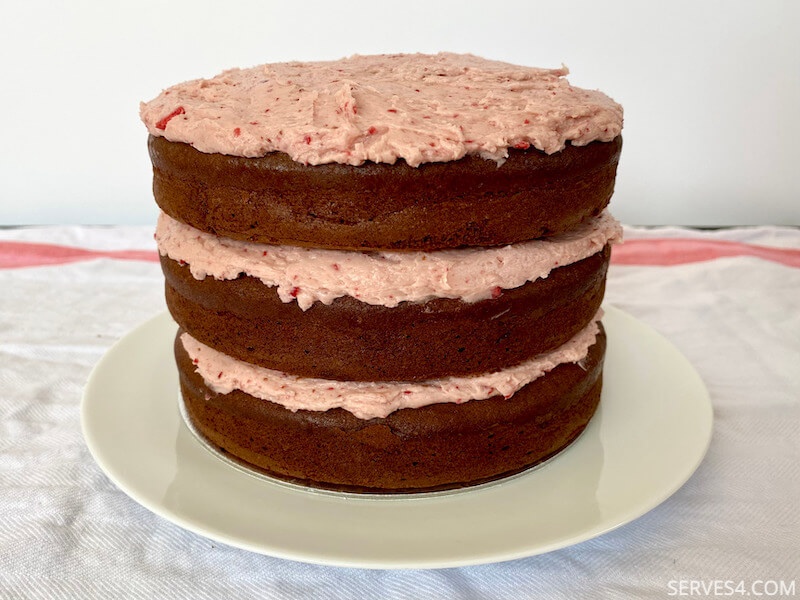
Sometimes a 6 inch chocolate cake is all you need - for example, if you're having a small party or just baking an afternoon tea treat. This recipe will give you three layers of fluffy and chocolatey cake that you just can't say no to!
Chocolate cake is a classic crowd pleaser, combining the favourites of both chocolate and cake. But to get a cake that actually tastes of chocolate, you need the intense flavour of good quality dark (70% cocoa) chocolate for the flavour to come through the cake. I always recommend using the best quality chocolate you can find for a cake that tastes of the real thing.

I love baking 6 inch layer cakes because they're cute (obviously!), and you can also bake more layers without the cake appearing monstrous or becoming too top heavy. It's a luxurious multi-layer cake that doesn't feel too excessive (in my humble opinion).
Once you've got your 6 inch chocolate cake layers, you can then decorate it with your favourite icing. For a double dose of chocolate flavour, try this chocolate Italian meringue buttercream recipe - it's hard to beat the flavour and airy texture of Italian meringue!

If you're making your this cake in advance, it keeps very well in the freezer. When the cake is completely cooled, wrap each layer individually in cling film, and put it inside a zip sealed plastic bag before popping it into the freezer.
When you're ready to decorate, unwrap the cakes and allow them to thaw on a wire rack. The 6 inch chocolate cake layers are smaller and thinner than a full size cake so shouldn't take very long to warm up. When fully thawed, you can then decorate as you please!
The cake will also keep at room temperature for up to a week, if stored in an airtight container.

Other recipes you might like:
- Chocolate Cupcakes
- Chocolate Cupcakes with Chocolate Buttercream
- Mini Vanilla Cupcakes
- Italian Meringue Buttercream
- Strawberry Italian Meringue Buttercream
- Vanilla Buttercream
- Cream Cheese Buttercream
Here's what you'll need to make this 6 inch chocolate cake:
(Click here to jump straight to the recipe)
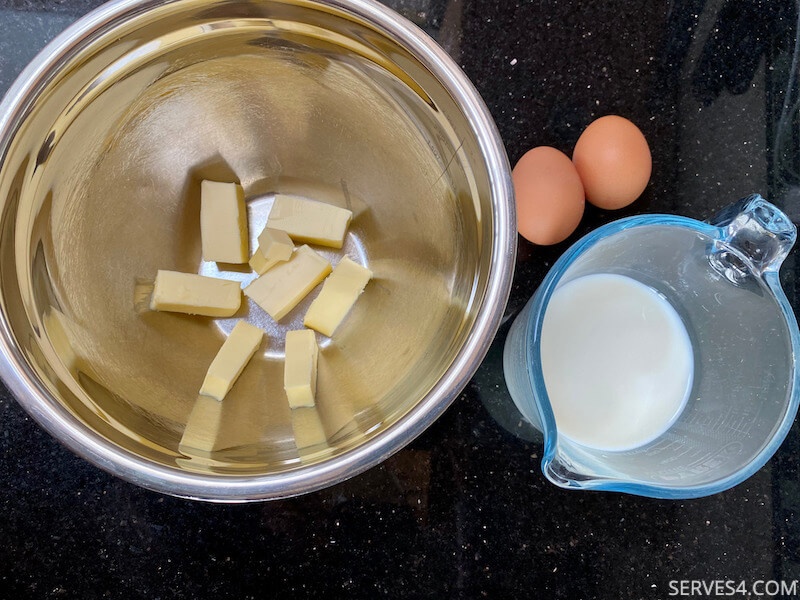
85g unsalted butter, softened
250g milk, room temperature
2 large eggs, room temperature and separated
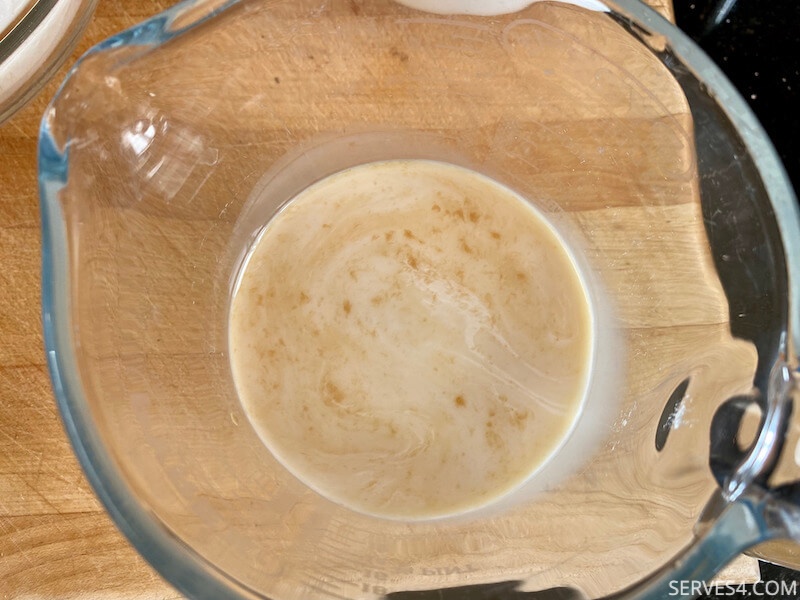
3/4 tsp vanilla extract
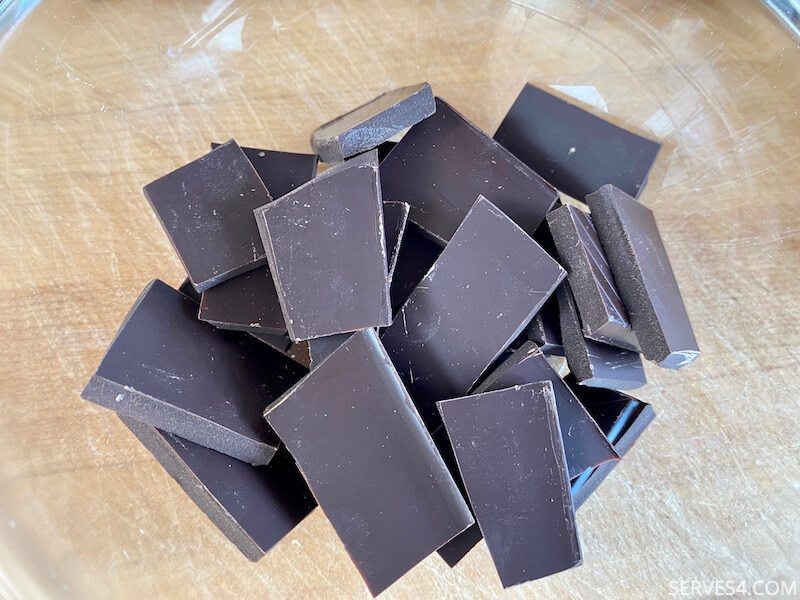
120g dark chocolate (70% cocoa)
130g light muscovado (brown) sugar
190g plain flour
3/4 tsp bicarbonate of soda (baking soda)
3/4 tsp baking powder
pinch of salt
And here's what you'll need to do:
- Weigh the butter and milk, and leave them, along with the eggs, on the kitchen counter to warm up to room temperature. You can put the butter directly into a medium sized mixing bowl - cutting it into smaller chunks will help it to warm up faster.
- Add the vanilla extract to the milk.
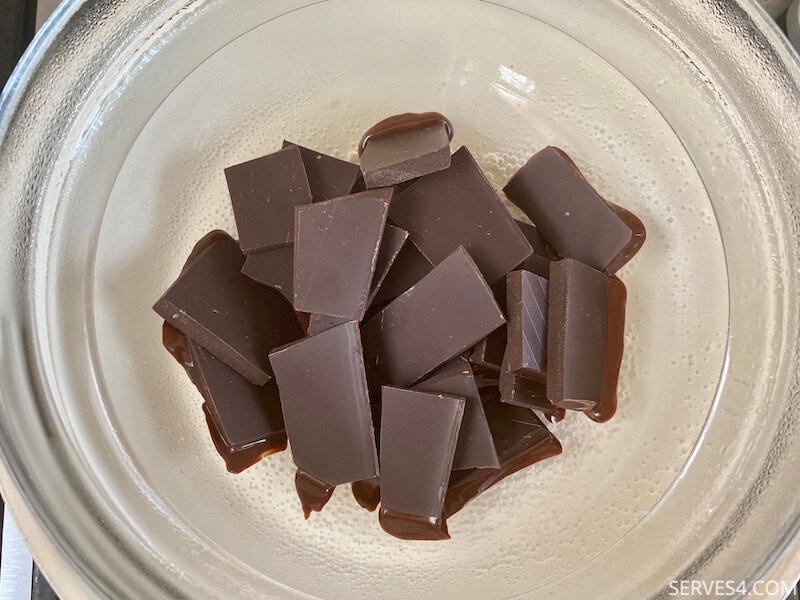
- Break the chocolate into smaller chunks, and put it in a small mixing bowl.
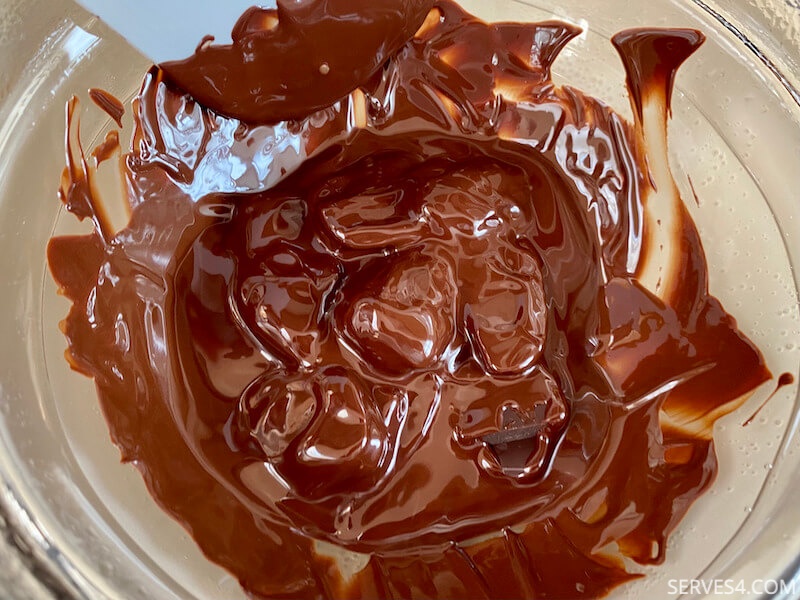
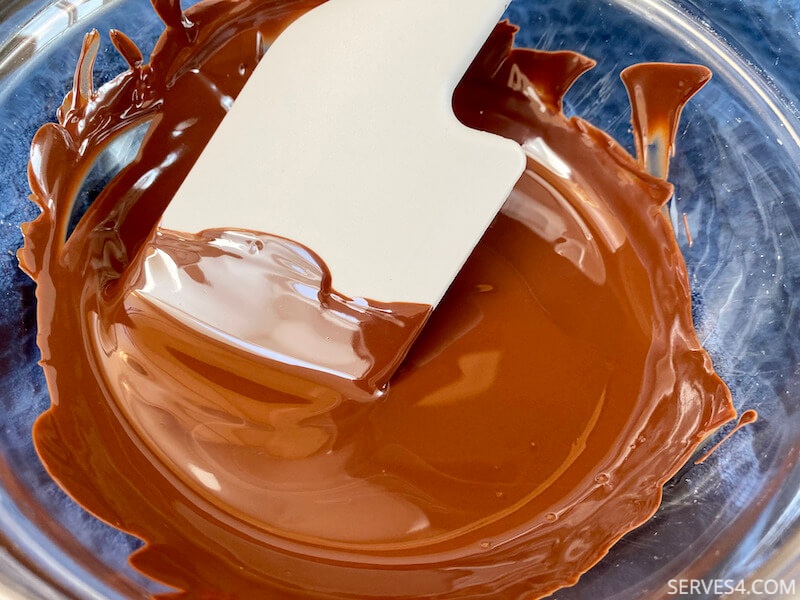
- Set the bowl in a pan of barely simmering water until the chocolate is melted and smooth. Set aside to cool.
- Preheat oven to 180C (355F) / 160C Fan.
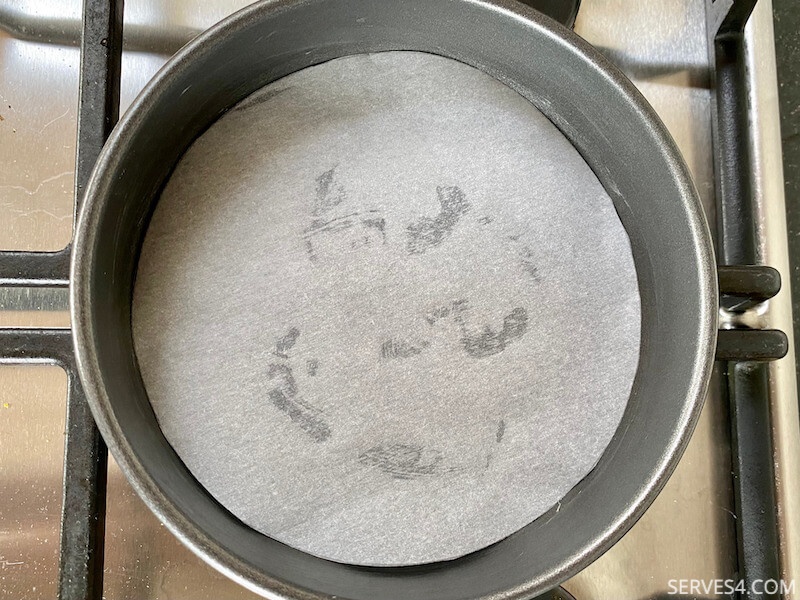
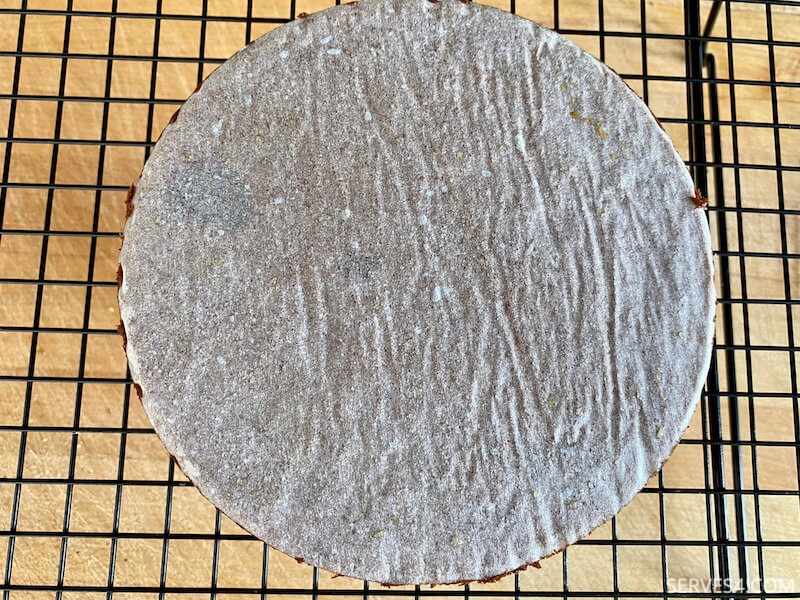
- Prepare three 6 inch (15cm) cake tins. Cut out parchment the size of the base of the tins, butter the base and sides of the tins, line with the parchment, and butter the parchment. (This might seem like overkill, but there is nothing more frustrating than when you've spent all the time to bake a cake, only to have it get stuck at the moment you want to remove it form the pan!)
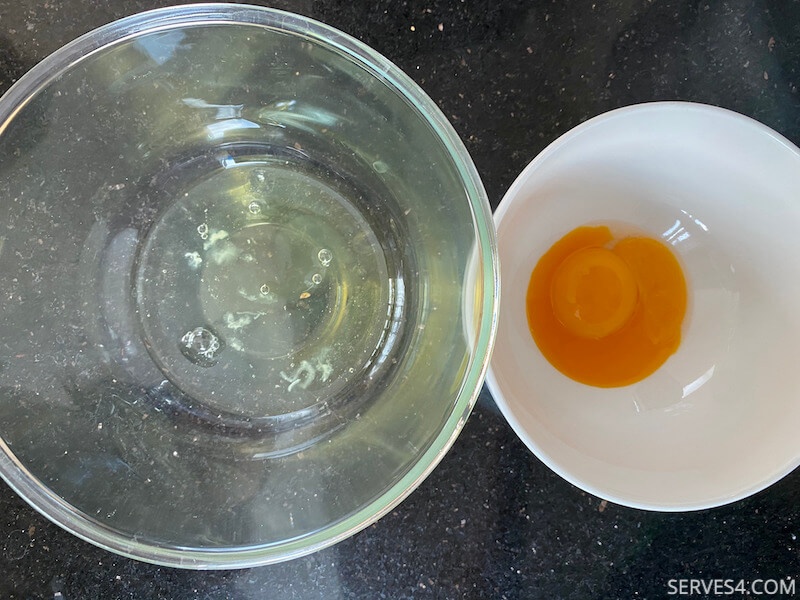
- Separate the eggs, and put the egg white in a small mixing bowl.
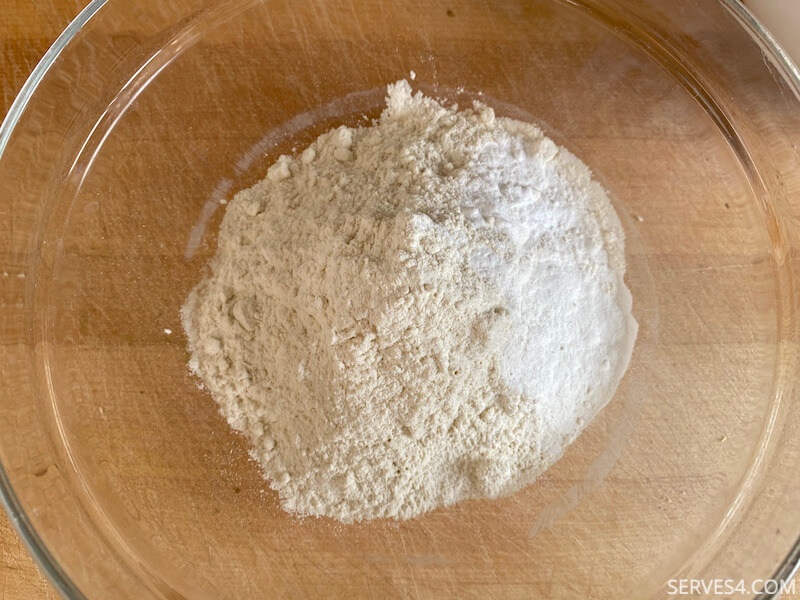
- Weigh out the flour into a bowl, and add the bicarbonate of soda, baking powder and salt. Stir to combine.
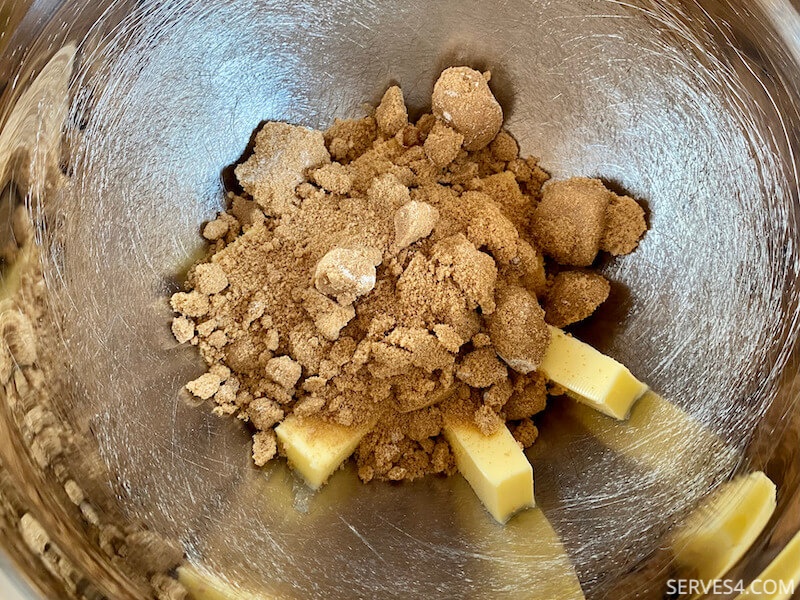
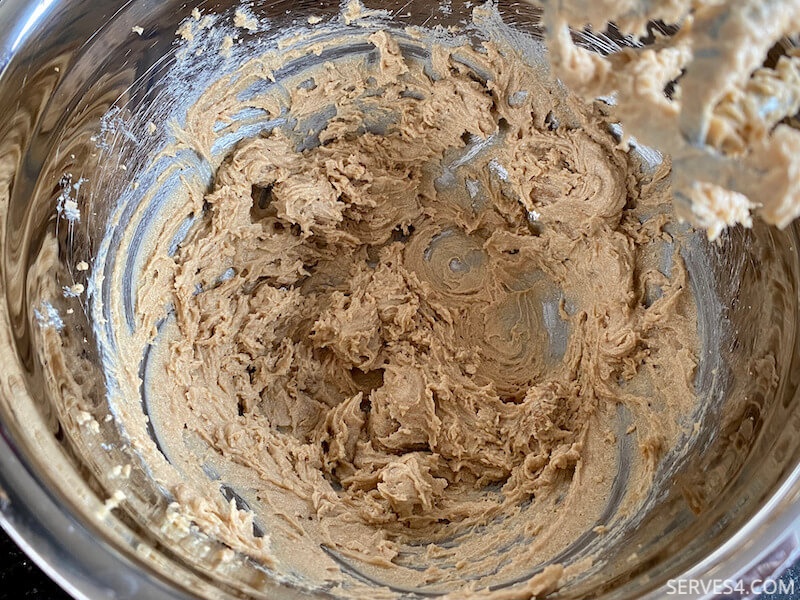
- When the butter is soft, add the sugar to the mixing bowl, and mix until pale and incorporated.
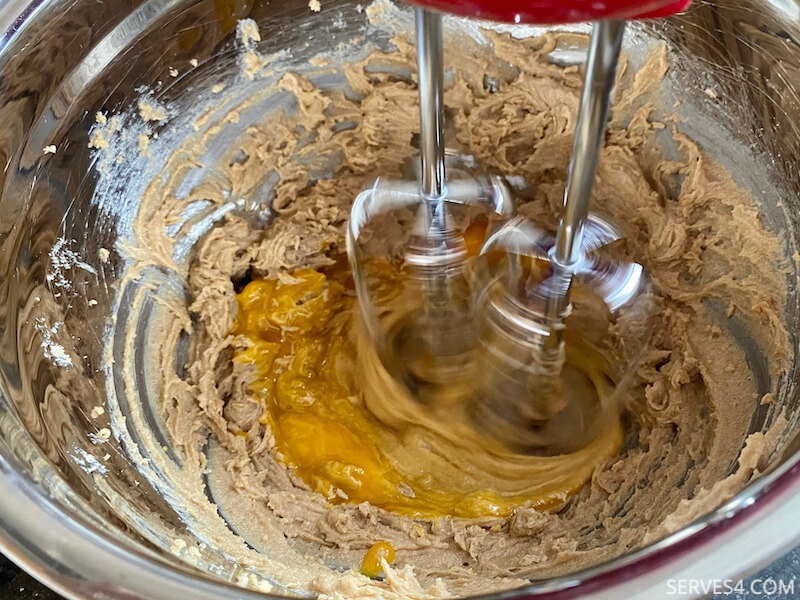
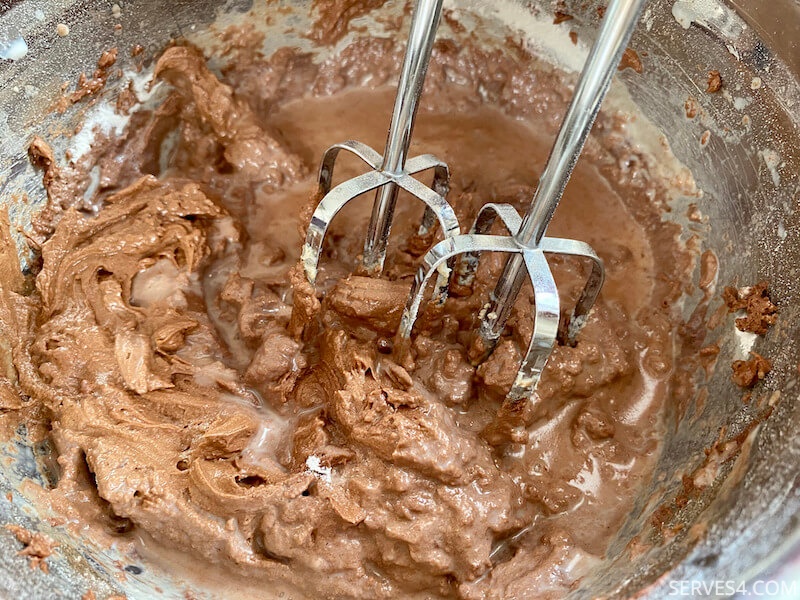
- Beat the egg yolk, add it to the butter and sugar mixture, and mix well.
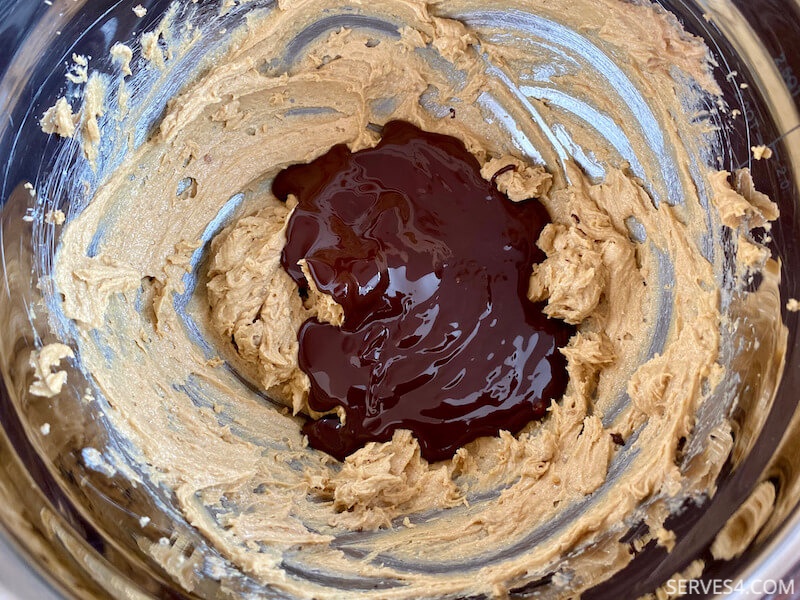
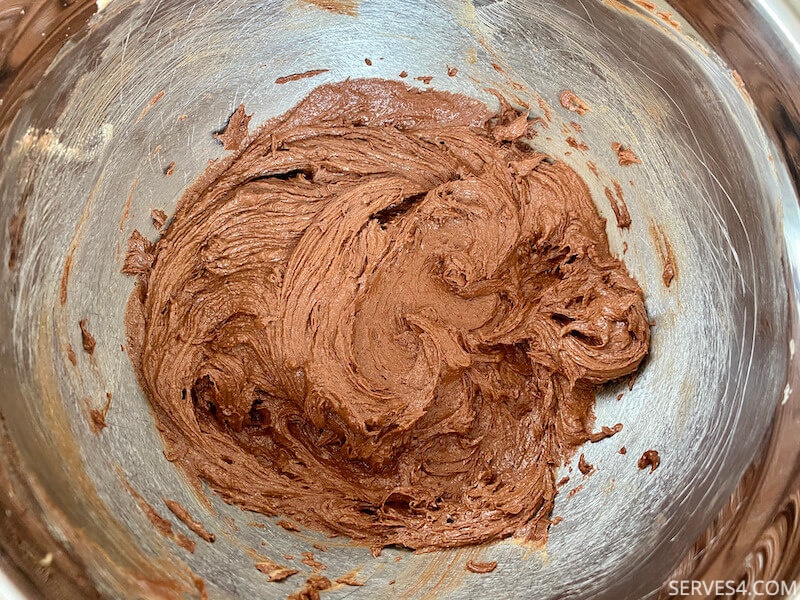
- Add the melted chocolate, and mix well to incorporate. You may need to scrape down the sides of the bowl with a spatula to ensure the chocolate is fully mixed in.
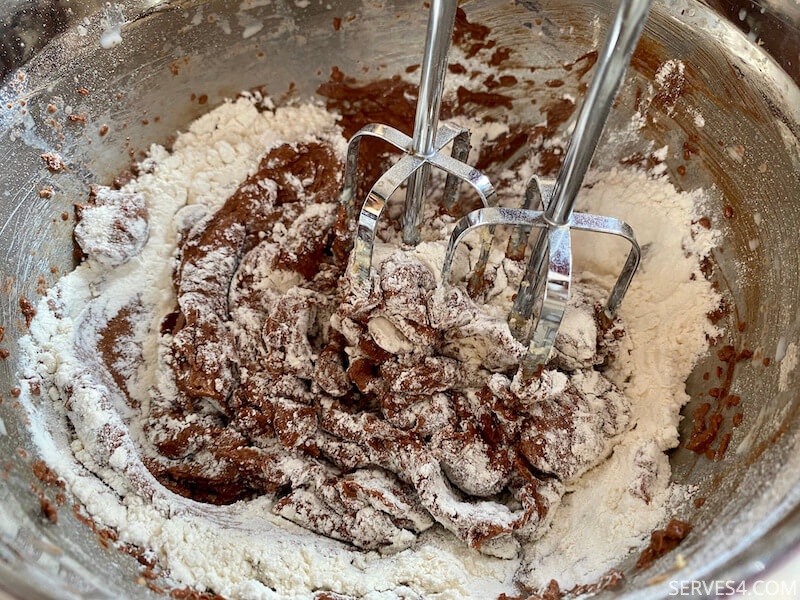
- Add a third of the flour mixture, prod it a bit with the mixer off, then turn the mixer on, and mix gently until just incorporated.
- Then add a third of the milk mixture, and again stir gently with the mixer off, before turning it on to mix until just incorporated.
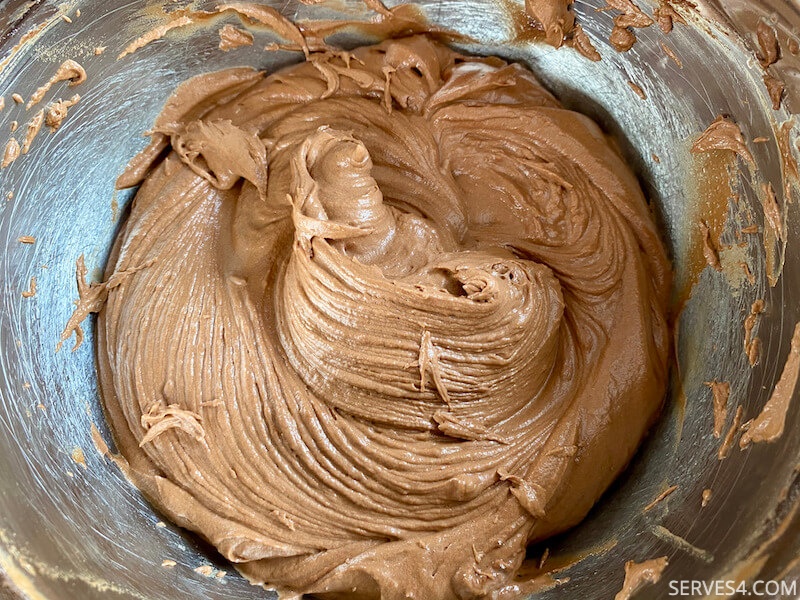
- Repeat until all the flour and milk mixtures have been incorporated, scraping down the sides of the bowl with a spatula, as needed. Be careful not to over mix, or the cake will turn out tough and chewy.
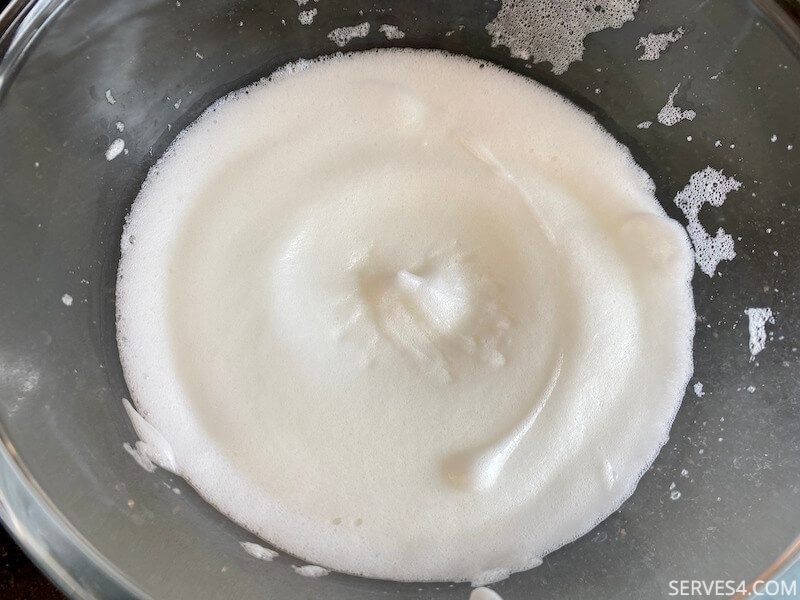
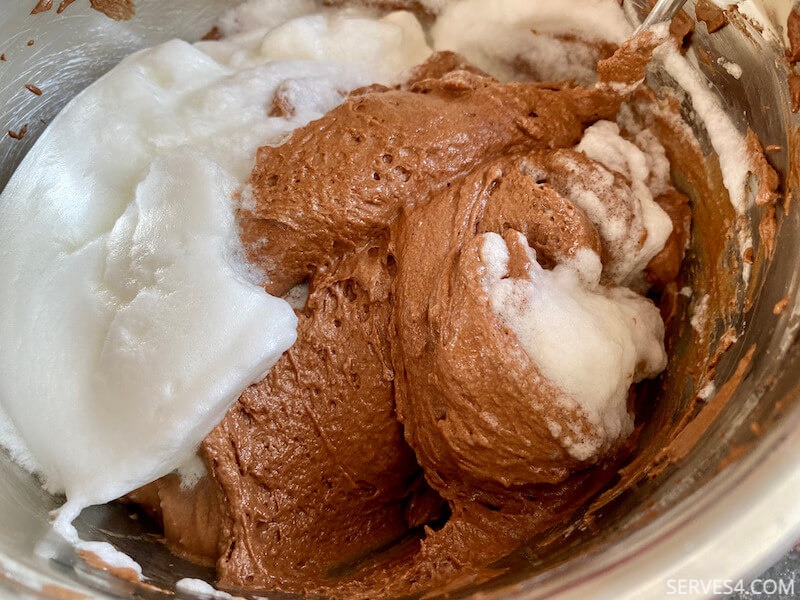
- Whisk the egg whites until fluffy with soft peaks.
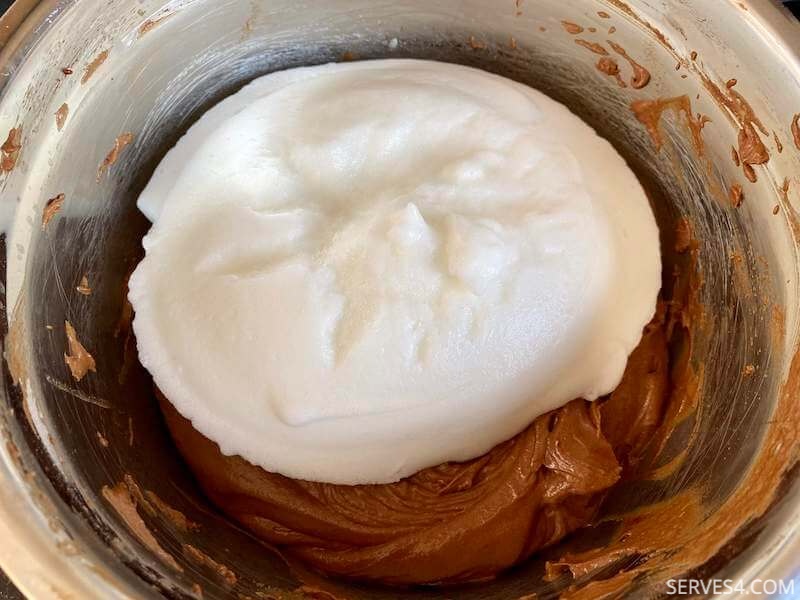
- Add it to the cake mix, and using a spoon, gently fold the egg white until incorporated. Don't stir too much or too vigorously, or the air will be knocked out.
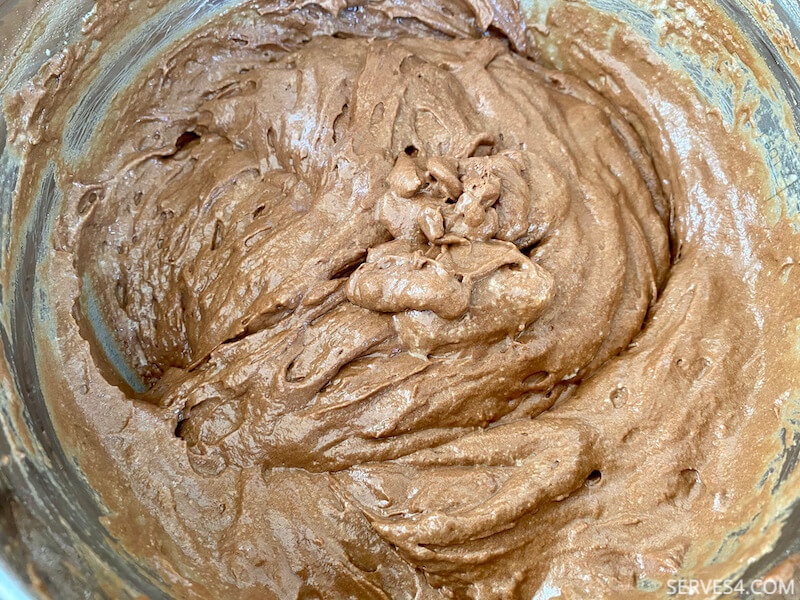
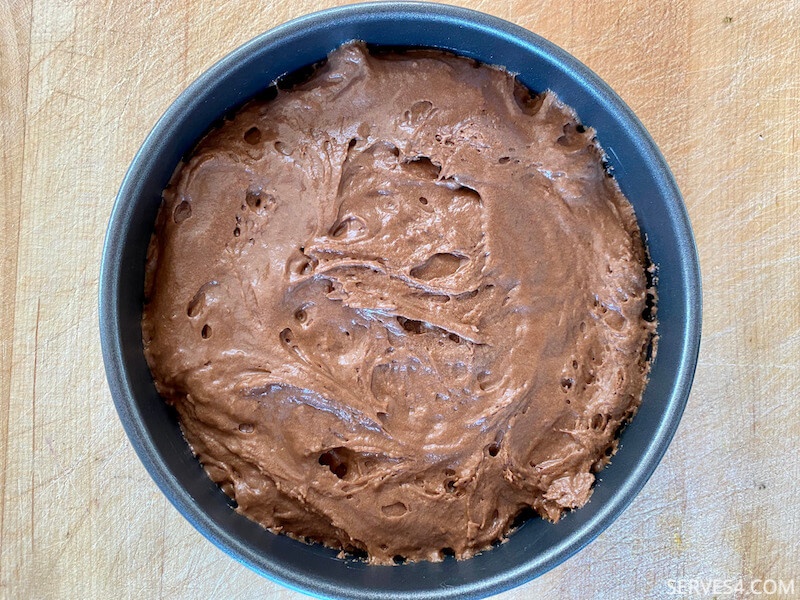
- You should now have about 865g of cake mix. Divide this evenly between the three cake tins, about 285g per tin. If you don't have three tins, you can bake in batches.
- Use the back of a spoon to push the mix into the edges of the tin. Drop it against the counter to help the mix settle into any air pockets.
- Bake in the preheated oven for 22-25 minutes, or until a test skewer comes out clean.
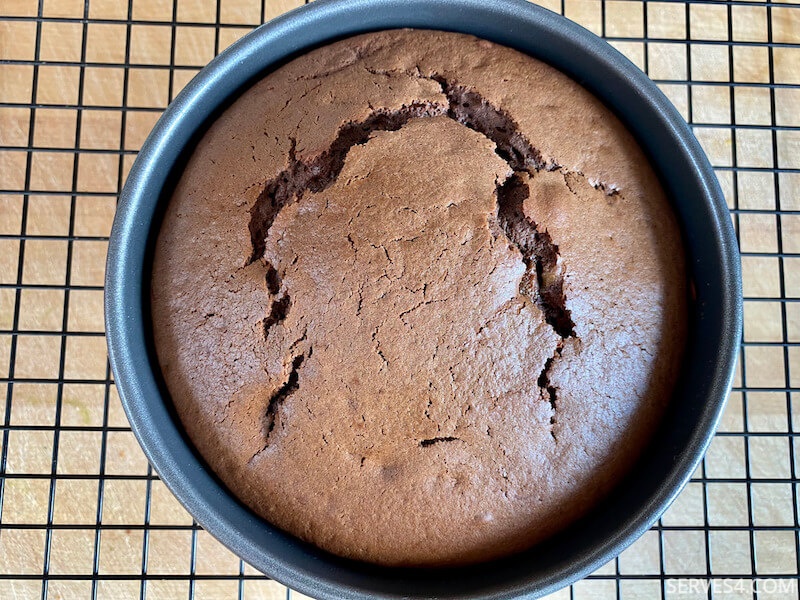
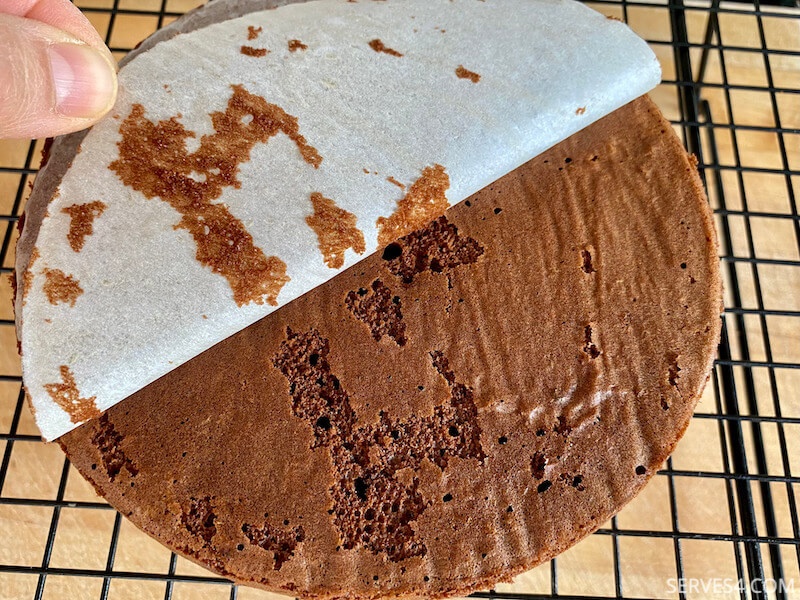
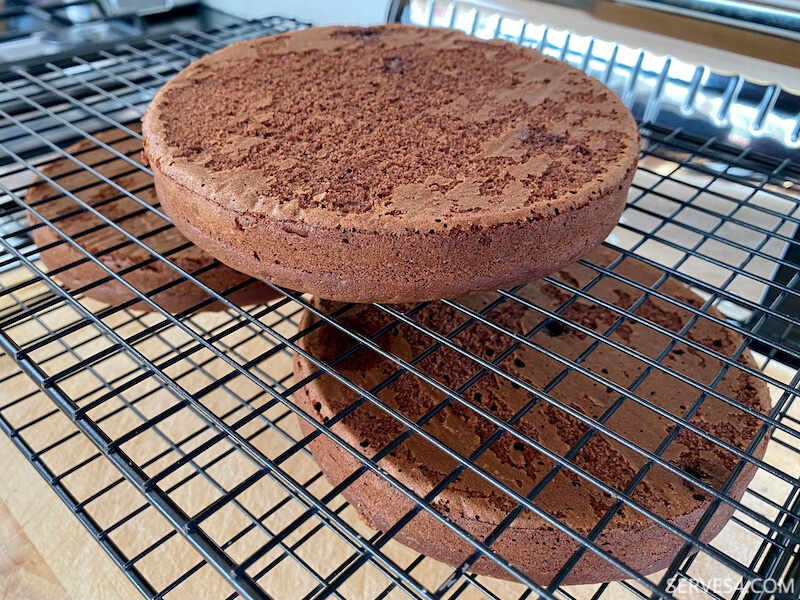
- Cool for a few minutes in the tin, then turn the cakes out onto a wire rack, remove the parchment, and cool completely before decorating.
6 Inch Chocolate Cake
By Wendy | Serves 4
This 6 inch chocolate cake is perfect for those times you want a delicious cake for a small celebration.
Prep Time: 20 minutes
Cook time: 25 minutes
Yield: 3 layers
Course: Cake, Pudding, Dessert
Cuisine: Modern European
Tags: Celebration Cake, Birthday
Ingredients
85g unsalted butter, softened250g milk, room temperature
2 large eggs, room temperature and separated
3/4 tsp vanilla extract
120g dark chocolate (70% cocoa)
130g light muscovado (brown) sugar
190g plain flour
3/4 tsp bicarbonate of soda (baking soda)
3/4 tsp baking powder
pinch of salt
Method
- Weigh the butter and milk, and leave them, along with the eggs, on the kitchen counter to warm up to room temperature. You can put the butter directly into a medium sized mixing bowl - cutting it into smaller chunks will help it to warm up faster.
- Add the vanilla extract to the milk.
- Break the chocolate into smaller chunks, and put it in a small mixing bowl.
- Set the bowl in a pan of barely simmering water until the chocolate is melted and smooth. Set aside to cool.
- Preheat oven to 180C (355F) / 160C Fan.
- Prepare three 6 inch (15cm) cake tins. Cut out parchment the size of the base of the tins, butter the base and sides of the tins, line with the parchment, and butter the parchment. (This might seem like overkill, but there is nothing more frustrating than when you've spent all the time to bake a cake, only to have it get stuck at the moment you want to remove it form the pan!)
- Separate the eggs, and put the egg white in a small mixing bowl.
- Weigh out the flour into a bowl, and add the bicarbonate of soda, baking powder and salt. Stir to combine.
- When the butter is soft, add the sugar to the mixing bowl, and mix until pale and incorporated.
- Beat the egg yolk, add it to the butter and sugar mixture, and mix well.
- Add the melted chocolate, and mix well to incorporate. You may need to scrape down the sides of the bowl with a spatula to ensure the chocolate is fully mixed in.
- Add a third of the flour mixture, prod it a bit with the mixer off, then turn the mixer on, and mix gently until just incorporated.
- Then add a third of the milk mixture, and again stir gently with the mixer off, before turning it on to mix until just incorporated.
- Repeat until all the flour and milk mixtures have been incorporated, scraping down the sides of the bowl with a spatula, as needed. Be careful not to over mix, or the cake will turn out tough and chewy.
- Whisk the egg whites until fluffy with soft peaks.
- Add it to the cake mix, and using a spoon, gently fold the egg white until incorporated. Don't stir too much or too vigorously, or the air will be knocked out.
- You should now have about 865g of cake mix. Divide this evenly between the three cake tins, about 285g per tin. If you don't have three tins, you can bake in batches.
- Use the back of a spoon to push the mix into the edges of the tin. Drop it against the counter to help the mix settle into any air pockets.
- Bake in the preheated oven for 22-25 minutes, or until a test skewer comes out clean.
- Cool for a few minutes in the tin, then turn the cakes out onto a wire rack, remove the parchment, and cool completely before decorating.
Other Pages You May Like
Gluten Free Chocolate Cake
This gluten free chocolate cake is so deliciously decadent that no one will even know what's missing.
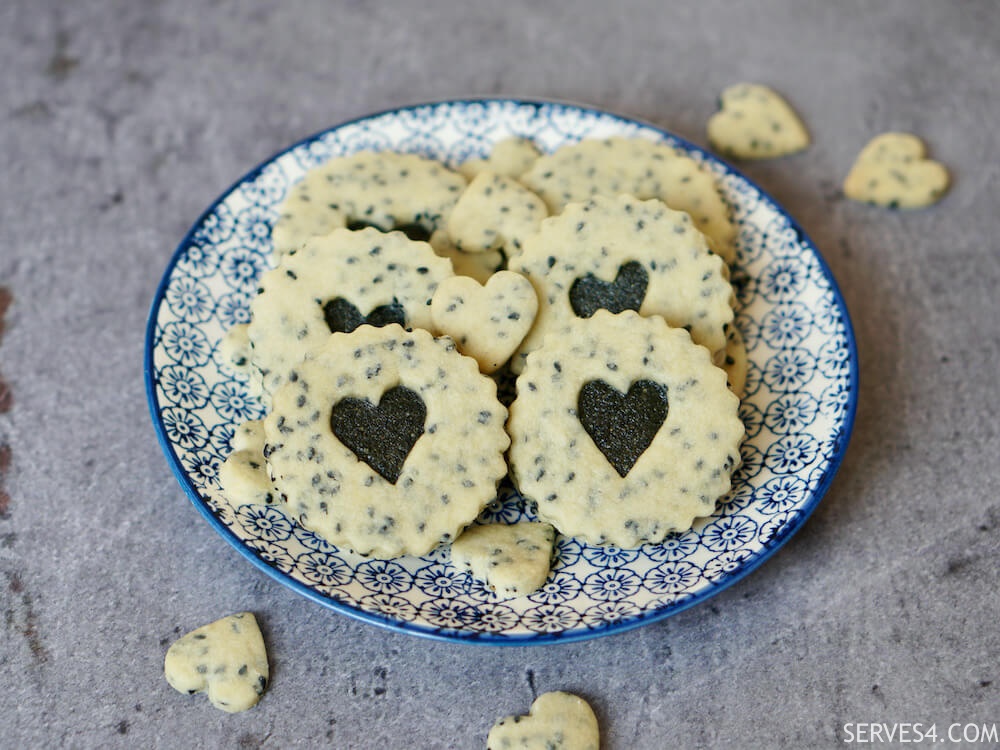
Black Sesame Cookies
These black sesame cookies are completely addictive - I challenge you to stop after eating just one of these buttery, crumbly and nutty delights!
Easy Recipe for Scones
This easy recipe for scones comes together very quickly, meaning you'll have more time to enjoy them!


What's on your mind?
Let us know any thoughts, comments or questions by getting in touch here.
Back to the Top!
Receive our FREE email series and newsletter
Top 5 Weeknight Recipes

What's New?
-
Korean Chicken
 Happy Monday! We're thrilled that it's officially barbecue season. The sun is shining and the temperatures are rising - it doesn't take much for an excuse to get together with friends and grill in th…
 -
Seasoned Korean Spinach
 It's finally warming up here, and we're all about cool, refreshing drinks and light bites and that won't weigh you down or cause you to melt in the heat! This seasoned Korean spinach recipe is a deli…
 -
Victoria Sponge Cake
 Who's looking forward to another long weekend? 🙋🏻♀️ I can hardly keep up with the number of Bank Holidays this May! Here's a treat you might like for the weekend, if anyone is planning a red, white…
 -
Black Sesame Buns
 Happy Monday everyone! These black sesame buns are sure the brighten your week. A cross between beautiful Swedish cardamom buns and my favourite black sesame paste, these buns are simply irresistible…
SUBSCRIBE NOW to receive our FREE email series and newsletter
Top 5 Weeknight Recipes for the Family!
COPYRIGHT © 2013-2023 SERVES 4. ALL RIGHTS RESERVED.
POWERED BY: Solo Build It!